


Hand silk screened cards | Botanical photo cards | Christmas designs | Web design | Gardens
 |
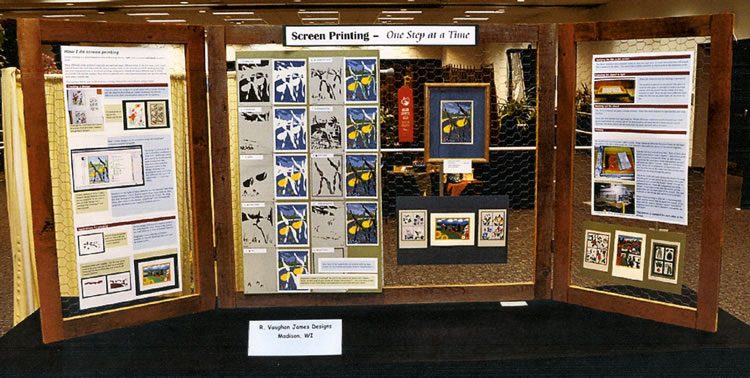
| How I do screen printing | ||||||||||||||
Screen printing is a stencil-based process. Many different kinds of stencil materials are used and many different kinds of ink. For many years I used solvent based inks and water soluble, photo sensitive film for my stencils (ULANO HiFi green). This winter I am relearning how to do screen printing – using water soluble ink and a new type of stencil (ULANO CDF QT50 capillary film) which is adhered with, and cleaned with water, but permits printing with water soluble ink. This opens a whole new world of screen printing without the solvent fumes and gas mask! |
||||||||||||||
|
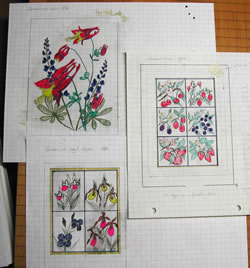
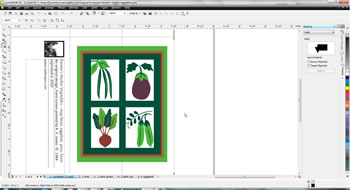
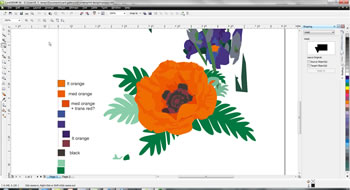
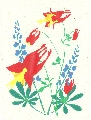
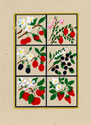
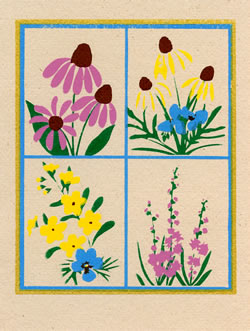
Creating a design I used to draw my designs on graph paper (often nearly wearing out the paper from erasing as I made revisions). I'd color in different areas with colored pencil and or felt tip markers. Now I create designs on my computer using the CorelDraw computer graphics program Here are the finished cards printed from two of the designs at the top left
|
|||||||||||||
|
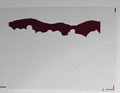
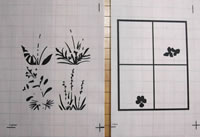
Separations for printing Once a design is finished, I create a positive for each separate color. Areas to be printed are solid areas on a clear or frosted material. Originally I used india ink on frosted acetate, or rubylith block out film (cut with an exacto knife). Now most of my separations are printed with my laser printer on very translucent paper (Casey's translucency). Here is the completed Prairie Wildflowers print:
|
|||||||||||||
Applying the film to the screen The cdf stencil film is applied to the fabric stretched over a wooden frame. The stencil film is photo-sensitive so this is done in the basement under yellow light. |
||||||||||||||
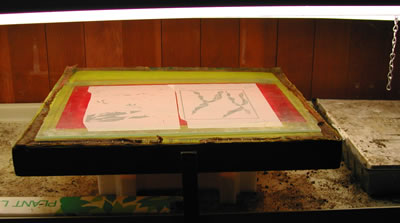 |
Exposing the stencil to light When the stencil is dry, the backing is peeled off. The positive is placed on the stencil film and it is covered with glass or plexiglas to hold it in close contact with the stencil on the frame. It is then exposed to light. Many people have elaborate light tables for this but my plant lights do the trick for me. |
|||||||||||||
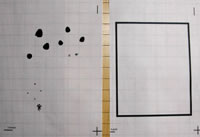
Washing out the stencil The stencil is washed out under a stream of water Areas that were exposed to light harden and resist washing Areas that were blocked from light wash out. People often use a pressure washer for this but I VERY gently brush across the printing side of the stencil with a soft paint brush to help remove stencil material. This works well for me and helps keep my water use (and bill) a bit lower. |
||||||||||||||
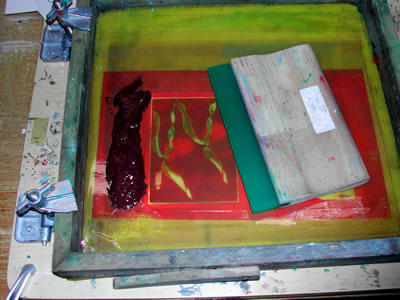 |
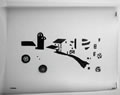
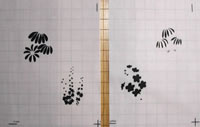
Printing The stencil (red) is on the screen, ready to print. Hinge clamps at left hold the wood frame on the base. The yellow is the fabric (historically silk, now polyester) that holds the pieces of the stencil together. Typically I do two stencils at a time. Both of these were used to print Yellow Lady's Slippers – dark brown at left (ready to print), transparent white at right (mostly covered by the squeegee). Areas that washed out (and will print) are lighter colored. There is a card placed under the screen to position it for registration for stencil on the left so the colors that have already been printed are showing through the screen. I block out additional areas around the stencil I'm using (including the second stencil on the screen) with clear packaging tape so that ink doesn't "sneak" through in unwanted places. Thick ink is placed on top of the screen. A squeegee is run over the screen and ink passes through the open areas of the stencil. The card is placed on the drying rack and the next is printed. When I finish printing a color, ink is cleaned up with water and the stencil may be saved and reused. If I'm done with the stencil, I brush a "magic" blue stencil removing liquid on it and it dissolves and washes out with water. |
|||||||||||||
| This process is repeated for each color in the design. | ||||||||||||||
|
||||||||||||||